A custom merchandise collection works best when its products serve the same audience and tell a coherent story. A matching logo alone does not create that connection. A useful collection also fits how people live, what they are willing to carry or wear, and the way you intend to distribute it.
Before choosing products, build a short collection brief. It should explain the audience, the purpose, the budget boundary, the delivery requirement, and the decisions that remain open. That brief becomes your reference when attractive new ideas threaten to expand the project.
Define one primary job for the collection
Choose the outcome that matters most. You might be creating merchandise for sale, an employee welcome kit, an event giveaway, or a customer appreciation program. Those projects can use similar products, but their buying decisions are different.
For retail merchandise, ask whether the audience would buy the item without knowing your business personally. For an employee kit, consider everyday usefulness and inclusive sizing. For event merchandise, portability and distribution speed may matter more than elaborate packaging.
Write a single sentence: “This collection helps [audience] do or feel [outcome] in [setting].” Use that sentence to reject products that do not belong. Avoid trying to serve every customer segment in your first release.
Build a small assortment with clear roles
Give each proposed item a reason to exist. A practical starting structure is a hero product that communicates the collection idea, a useful supporting item, and an accessible option for people with a different budget or preference. These are planning roles, not a required product count.
Consider a community workshop collection. A durable tote could carry materials, a notebook could support the activity, and an illustrated card could explain the theme. Adding an unrelated object simply because it accepts a logo would weaken the concept.
Limit variants before they multiply
Record every sellable or distributable combination separately. A garment in different sizes and colors creates multiple stock-keeping units, even when the artwork stays the same. Each variant needs a quantity decision, a product reference, and a way to identify it during packing.
Ask which choices genuinely help the buyer. Keep necessary size options, but challenge decorative color options that divide demand without adding much value. A focused assortment is easier to sample, photograph, explain, and replenish.
Set the budget around the complete order
Compare complete project costs rather than the base product price. Your working budget should identify products, decoration, artwork preparation, samples, packaging, freight, applicable import charges, receiving, storage, and distribution. Some lines may not apply, but they should be checked rather than silently omitted.
Separate one-time costs from costs that repeat with each order. Also distinguish a quote from an assumption. If shipping depends on final carton dimensions, keep it visibly provisional until those dimensions are confirmed.
For merchandise intended for sale, evaluate the expected selling price against all relevant costs, including payment processing, returns handling, and unsold inventory. Do not treat gross sales as profit. Ask your finance adviser about tax treatment where relevant rather than relying on a universal rule.
Create a visual system that survives production
A collection can feel related without placing an identical oversized logo on every surface. Establish a limited palette, a type hierarchy, an illustration style, and rules for when to use the full logo or a simplified mark.
Then adapt the artwork to the product. A detailed illustration that reads well on a large tote may become illegible on a narrow accessory. Decide which elements are essential and which can be removed at smaller sizes.
Provide dimensions, placement references, approved artwork files, and the intended decoration method where known. Treat digital mockups as communication tools. They do not verify texture, finished color, stitching, or how a print behaves when the item is used.
Sample the collection as a group
Review individual products, then place the samples beside one another. Check whether the colors feel consistent, the branding is proportionate, and the materials match the intended experience. A collection can look coherent online but feel mismatched in person.
Test the relevant use case. Carry the tote with the expected contents. Open and close the packaging. Check that inserts fit without bending. Review garment measurements against the intended size information. Record observations against a written specification rather than relying on “looks good.”
Keep an approved reference sample or a clearly identified reference record. Document any accepted differences so later production checks have a useful baseline.
Check labels and product claims before launch
Requirements depend on the product and destination. For example, U.S. Federal Trade Commission guidance says most textile and wool products need labeling that identifies fiber content, country of origin, and the responsible business. Review the applicable FTC clothing and textile guidance before replacing or redesigning labels.
Be equally careful with environmental language. Describe a verified attribute precisely instead of adding broad claims such as “eco-friendly.” The FTC’s summary of its Green Guides explains why unqualified general environmental claims can be difficult to substantiate. A material choice does not establish the environmental performance of the entire collection.
Build the launch backward from arrival
Keep artwork approval, sampling, production, dispatch, transit, customs clearance when applicable, and local receiving as separate milestones. A production estimate is not an arrival guarantee. Confirm what starts each stage and who must approve the next one.
Set a decision point for simplifying the collection if a critical item is delayed. You might launch the ready products first or remove complex packaging. Agree on that fallback before a deadline forces a rushed choice.
Collection readiness checklist
One primary audience and purpose are documented.
Every product and variant has a clear role and quantity.
The budget distinguishes confirmed costs from estimates.
Artwork dimensions, placement, and versions are approved.
Samples and packaging have been reviewed together.
Required labels and marketing claims have been checked.
Production, transit, and receiving milestones are separate.
Inventory ownership and replenishment decisions are assigned.
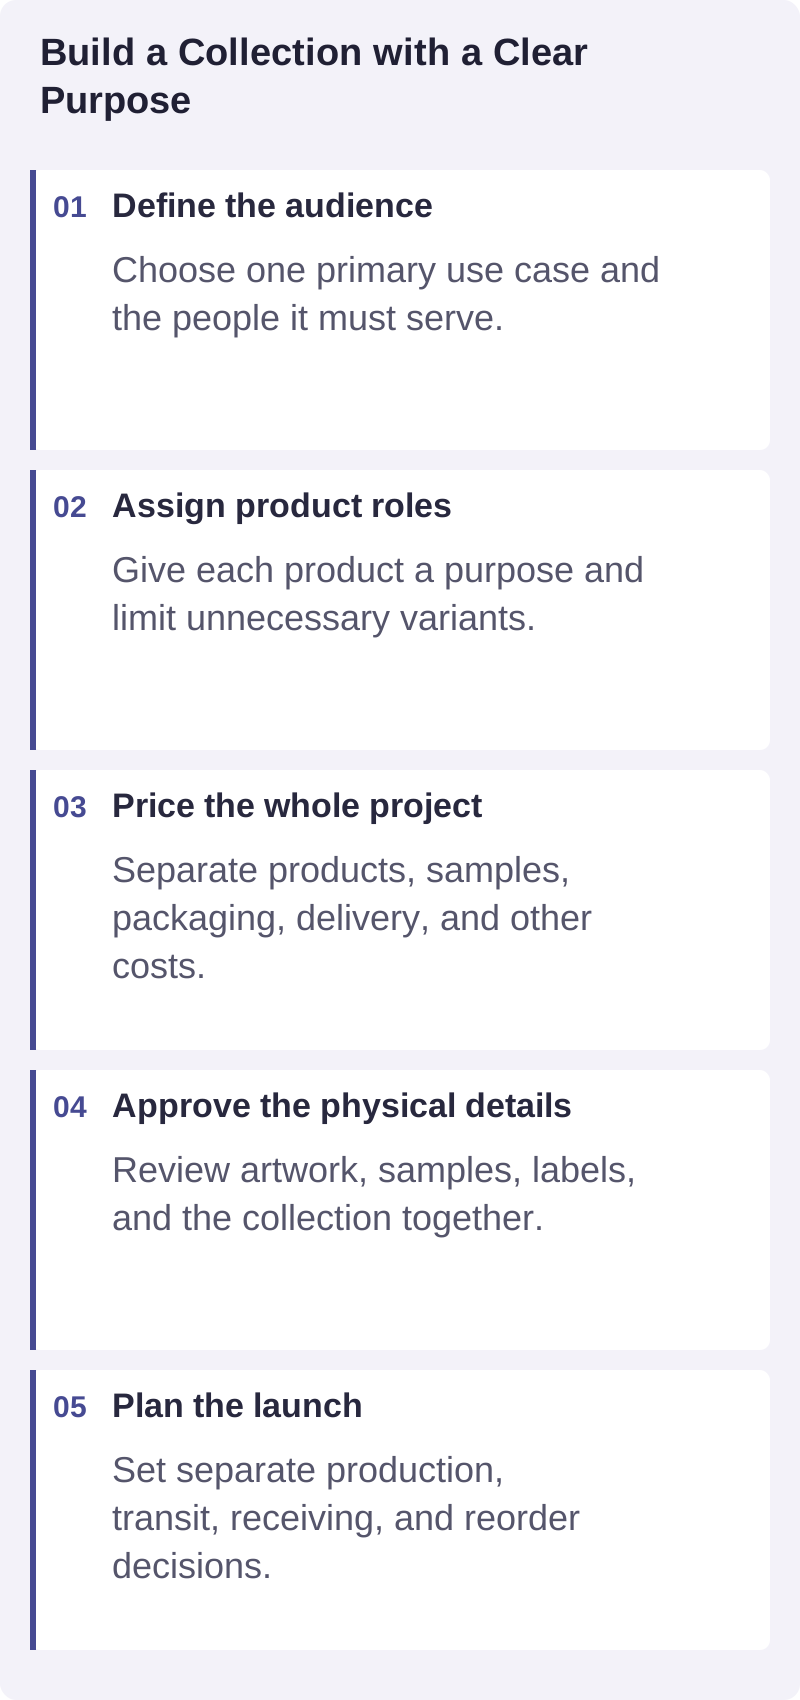
A practical visual summary of the decisions discussed in this guide.
Frequently asked questions
How many products should a first collection include?
Choose the smallest assortment that serves the audience well. The right count depends on budget, demand confidence, and operational capacity. Remove products that duplicate another item’s purpose without offering a meaningful choice.
Should every product use the same design?
No. A shared palette, illustration language, or placement system can create consistency. Adapt the design to each product’s surface and use, while keeping the collection recognizable.
When should I reorder?
Review actual demand by variant, remaining usable stock, and the time needed for approval, production, and delivery. Do not reorder solely because the collection looks successful overall; one popular size can hide slow-moving alternatives.
Ready to turn an idea into a focused merchandise brief? Contact Brilliantor with your audience, preferred products, budget range, destinations, and target arrival date.