How to Prepare Print-Ready Artwork for Custom Apparel
Prepare custom apparel artwork with the right dimensions, resolution and transparency. Follow a clear export and proofing checklist before sending your files.
Original editorial diagram for this guide; not product inventory or a company photograph.
A design can look sharp on a phone and still be unsuitable for a large T-shirt print. Print-ready artwork needs enough usable detail at the intended size, the correct background treatment and a file format that fits the production workflow.
The most reliable starting point is the specification for the actual product and decoration method. Do not build a file around a generic canvas size found online and assume it will fit every garment. Use the steps below to prepare a clear handoff and catch common problems before production.
1. Confirm the production requirements first
Ask for the intended decoration area, accepted file formats, requested color profile and any minimum line or text guidance. Confirm whether the specification describes the entire upload canvas or the visible design itself.
Record the garment, color, print location and desired dimensions. “Front print, 10 inches wide” communicates something different from “a 10-inch-wide file” containing generous empty margins. A clear brief describes the visible artwork size.
Also confirm whether the work is printed or embroidered. A print-ready image is not automatically a stitch-ready embroidery file. If the final method is undecided, preserve an editable original and wait before committing to a production export.
2. Set the physical size and check the pixels
Raster images are made of pixels. For print preparation, the useful relationship is:
Required pixels = printed inches × pixels per inch.
If a production team requests 300 PPI and your design will be 10 inches wide, you need 3,000 pixels across that width. At 12 inches wide, the same 3,000-pixel image provides 250 PPI. These are arithmetic examples, not universal production specifications.
A resolution value in file metadata cannot create missing detail. Without resampling, changing PPI changes the stated physical size, not the number of pixels. Resampling creates or removes pixels, so an enlarged file still needs visual inspection. The official guide to image dimensions and resampling explains this relationship.
Do not confuse PPI with printer DPI
PPI describes image pixels per inch at output size. DPI describes dots produced by a device. People often use the terms loosely, but a request for a “high-DPI file” should lead to a practical question: what pixel dimensions and finished print size are required?
Avoid screenshots and images downloaded from message previews when the original artwork is available. Ask the designer for the source file or a fresh export instead.
3. Choose raster or vector deliberately
Photographs and painted illustrations are usually handled as raster artwork. Logos and geometric graphics may be better maintained as vectors, which describe shapes rather than a fixed pixel grid.
A vector file can still contain an embedded low-resolution photograph. Saving a small image inside a PDF or SVG does not turn that image into clean vector shapes. Inspect the actual contents, including textures, shadows and linked images.
Keep an editable master. For the production copy, follow the recipient’s requirements for fonts and linked assets. Outlining text may avoid missing-font problems, but it also makes later text changes less convenient. Proofread names, punctuation and spelling before creating that copy.
Do not assume a particular extension guarantees readiness. File format is one part of a production specification, alongside dimensions, color handling and artwork quality.
4. Verify the background and transparency
If the shirt should show through around the design, the background usually needs to be genuinely transparent. A white background is still image content. A checkerboard baked into the picture is also image content, even if it resembles a transparency preview.
PNG supports transparency; JPEG does not preserve a transparent background. However, a PNG can still contain a solid background. The official graphics-format guidance explains the relevant format capabilities.
Check the artwork over both a light and a dark temporary background. Look for pale outlines, stray pixels, unintended rectangles and cutout errors. Inspect the spaces inside letters and between fine details, not only the outside edge.
Treat soft edges as a production question
A faded shadow or semitransparent texture may behave differently when a white underbase is involved. Do not automatically remove every soft edge, but flag important transparency effects for review. If a PDF workflow requires transparency flattening, follow the requested settings and inspect the exported result. The official transparency printing guidance explains why flattening can change how artwork is processed.
5. Agree on color handling
Follow the production team’s requested color space and profile. Do not convert every file to CMYK simply because the end product will be printed; different digital workflows have different input requirements. Likewise, do not assume an untagged RGB image will be interpreted exactly as intended.
Color management uses profiles to describe output conditions and translate color values. This is covered in the official color-management printing guide. For the handoff, the practical goal is one agreed workflow rather than repeated, undocumented conversions.
If a brand color is critical, provide its reference and ask how it will be evaluated on the chosen garment. A screen mockup cannot establish an exact physical color match. Fabric color, the decoration process and lighting also affect the appearance you judge.
6. Review detail at the actual size
Make a simple full-size paper proof if possible. It helps reveal whether a chest mark is too wide or whether supporting text is unreadable from a normal distance. It is a size and layout aid, not a color or fabric proof.
Look for fine strokes, narrow gaps and small reversed-out text. Ask the production team to review anything near its process limits. Do not invent a universal minimum line width for every print method.
For AI-assisted artwork, inspect lettering, repeated objects, odd edges and small visual inconsistencies. Confirm that you have permission to use the supplied artwork and assets commercially. A visually convincing export is not evidence that the underlying rights have been cleared.
7. Export, reopen and package the handoff
Export a production copy using the agreed settings. Then reopen that exported file, rather than checking only the editable original. Confirm the dimensions, background, crop and color profile survived the export.
Keep the printable artwork separate from the mockup. Label the mockup as a placement reference so that garment shadows, measurement arrows and presentation backgrounds are not mistaken for printable content.
Use versioned, descriptive filenames. For example, “event-front-10in-v03” is easier to identify than “final-final-new.” Include a short note stating the visible artwork dimensions, garment color, location and which file is approved.
Print-ready handoff checklist
Correct product, method and print location confirmed.
Visible artwork dimensions stated in inches or centimeters.
Adequate pixel dimensions at the requested output size.
Background and transparency checked on light and dark surfaces.
Fonts, linked images and small details reviewed.
Requested color profile and export format used.
Exported file reopened and checked.
Mockup separated from production artwork.
Approved version clearly identified.
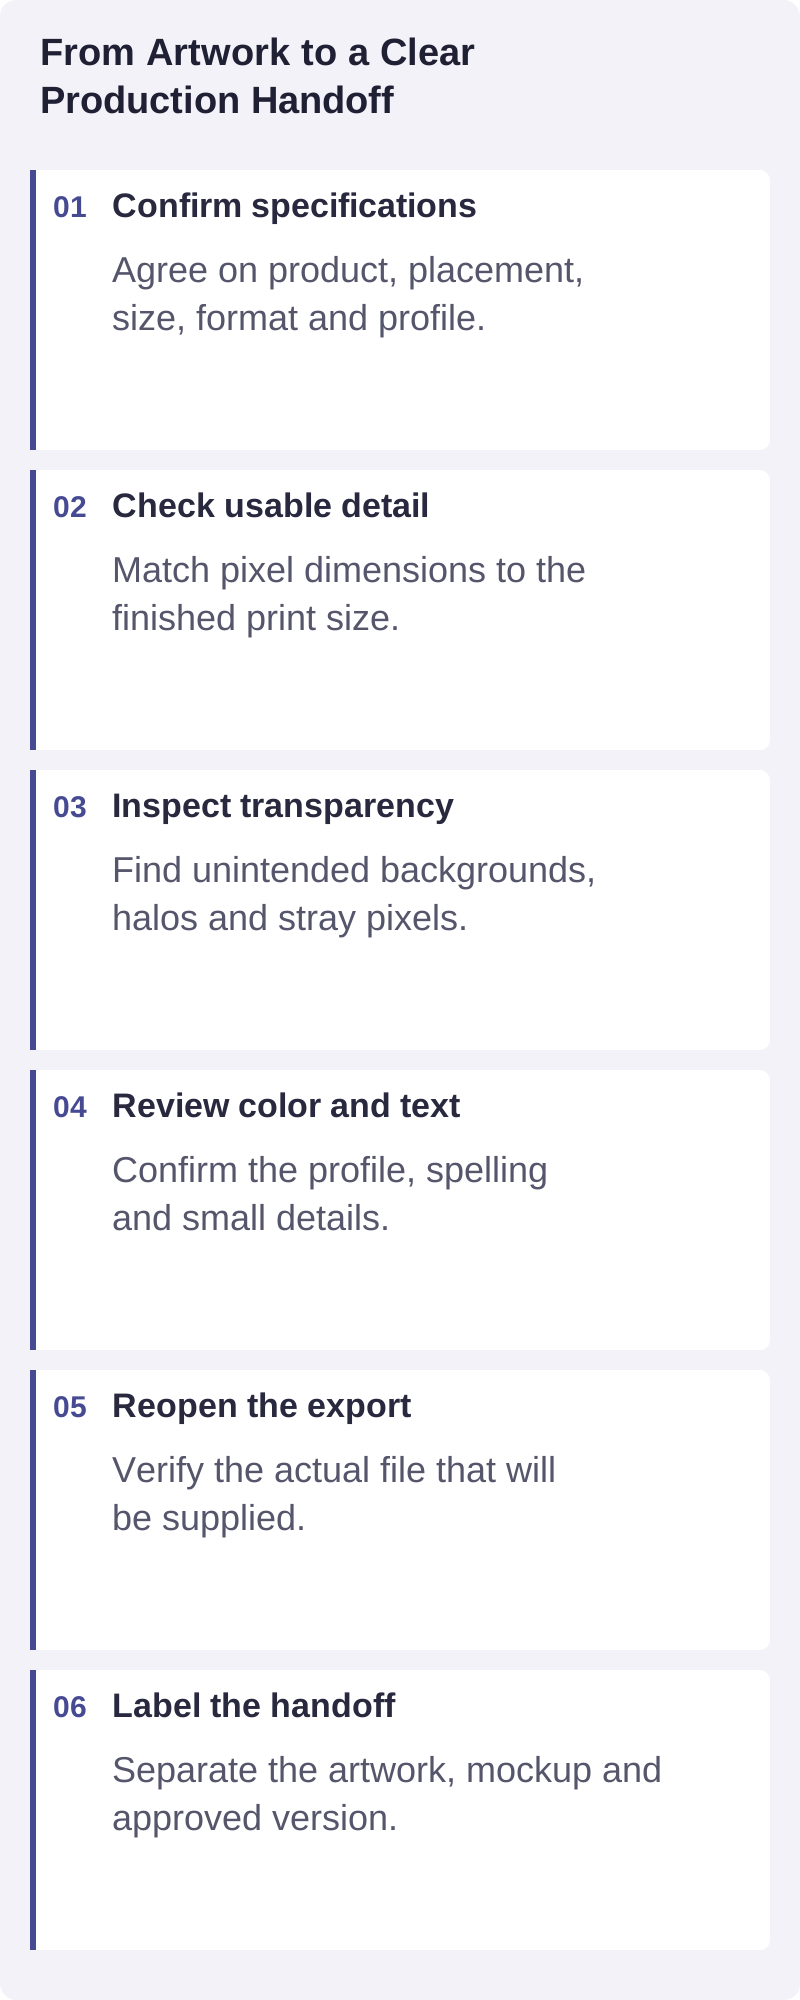
A practical visual summary of the decisions discussed in this guide.
Frequently asked questions
Is a 300-PPI label enough to make a file print-ready?
No. Check the actual pixels and intended print dimensions. A small image can carry a 300-PPI setting while containing too little detail for the desired output size.
Should I send PNG, PDF or SVG?
Use the format requested for the selected workflow. PNG can suit raster artwork with transparency; PDF and SVG can carry vector information. None is universally correct for every product or production system.
Should I mirror artwork before sending it?
Only if the production specification explicitly asks you to. Transfer workflows may require mirroring during preparation, but sending an unexpectedly mirrored file can create a second reversal or an incorrect result.
Get the file questions resolved early
Send your artwork and intended product details through Brilliantor’s contact page to discuss preparation needs. Include the desired print size and garment color so the conversation starts with the actual job, not just a file extension.