Product Photography for Online Stores: A Useful Shot List
Plan useful product photos with a question-led shot list, repeatable lighting, honest editing, variant images, and accessible descriptions for your store.
Original editorial diagram for this guide; not product inventory or a company photograph.
A product photograph should answer a question. What does the item look like? How large is it? What is the material like? Which details change when a buyer chooses another option?
Attractive lighting helps, but an image set that leaves these questions unanswered is incomplete. Product photography for online stores works best when it follows the customer’s decision rather than a list of fashionable camera angles.
Start with a stable camera, controlled light, an accurate sample, and a planned shot list.
Build a shot list around purchase questions
Write down the uncertainties a shopper cannot resolve by touching the product. A printed tote raises different questions from a personalized mug or an embroidered garment.
For a tote, the important views might include the complete front, the back, the opening, the handles, the print texture, and the bag beside a familiar object. For a mug, the handle orientation and artwork wrapping around the body may matter more.
Give each image a specific job
A practical gallery can cover these roles:
Identification: a clean view showing exactly what is being sold.
Construction: the back, interior, closure, or other relevant structure.
Detail: a close view of texture, decoration, stitching, or finish.
Scale: the product in a meaningful real-world context.
Variation: accurate images of materially different options.
Use: a realistic scene showing the intended use without hiding the item.
You do not need a fixed number of photographs for every product. If two images answer the same question and neither adds useful detail, replace one with a missing view.
Make the setup repeatable
Consistency is easier when the setup is documented. Mark the product position and camera location, note the camera height, and record the background and lighting arrangement. Keep a simple reference photograph of the setup itself.
A large, soft light source can be a useful starting point for many objects. If using a window, avoid mixing it with room lights that create a different color cast. A plain reflector can lighten deep shadows, but keep enough shadow to show shape and texture.
Use a stable support and check focus on the actual detail that matters. With a phone, inspect whether automatic processing is smoothing fabric, changing color, or sharpening edges unnaturally. Capture a test and examine it beyond the small camera preview before photographing the whole collection.
Prepare the item before editing
Remove dust, fingerprints, stray threads, and temporary labels that are not part of the product. Straighten fabric without disguising its normal construction. Check that the sample matches the current design and specification.
Keep the photographed sample identifiable. If a sample has a different print position or outdated packaging, do not quietly use the image for a revised listing. Photograph the updated version or clearly communicate what the image represents.
Show scale and material honestly
Perspective can make an object appear larger or smaller than expected. Keep the camera angle suitable for the product, and include a scale view when dimensions are difficult to interpret.
A hand-held photograph can help, but hand sizes vary. Pair contextual images with written measurements and units. For clothing, state the actual measurements relevant to the product rather than relying on a model photograph to explain fit.
Use close-ups to reveal the details a broad hero image cannot show. Photograph the print surface or embroidery from an angle that makes its texture understandable. Avoid lighting that hides an important finish difference.
Color accuracy needs a controlled process, although buyers’ screens will still vary. Use a neutral reference during setup, keep white balance consistent, and compare the edited image with the physical item. Do not increase saturation simply because a brighter result looks more appealing.
Photograph variants as distinct purchasing choices
When a customer changes color or design, the gallery should not leave them guessing which item they selected. Use accurate variant images where available and connect them to the appropriate option.
Do not recolor a photograph if the result misrepresents the material, trim, print treatment, or finish. A dark garment may use a different artwork treatment from a light garment; changing the background color alone does not demonstrate that difference.
If physical samples are not yet available, a clearly identified mockup can explain a proposed design. Keep it distinct from a photographed production sample. An AI-generated lifestyle scene should not be presented as evidence of actual fit, dimensions, finish, or manufacturing quality.
Edit for clarity, then export for the page
Keep an untouched original and a separate edited master. Straighten the image, make a deliberate crop, correct exposure and white balance, and remove temporary distractions that do not represent the product.
Do not edit away a real structural feature or add accessories that buyers could reasonably think are included. If props are used, explain what the purchase contains in the listing.
Test exports at the size shoppers will actually see. Fine text may appear acceptable in the original but become illegible in a compressed thumbnail. Keep the product large enough within the frame and leave consistent breathing room across a collection.
Google’s image SEO guidance recommends balancing image quality with loading speed and using responsive images. Choose export sizes for the actual page layout, inspect compression artifacts, and keep a higher-resolution master rather than uploading a huge original everywhere.
Add useful image descriptions
Alternative text should communicate the image’s meaningful information in its page context. W3C’s image guidance distinguishes informative images, decorative images, and images that function as controls. These roles need different text treatment.
For an informative detail photo, a useful description might be: “Close-up of navy embroidery on the natural cotton tote’s front pocket.” That tells a reader something specific. A string of repeated sales phrases does not.
Use filenames that describe the product and view, and place photographs near relevant information. Keep essential measurements, care information, and order instructions in readable page text, not only inside graphics.
Review the gallery as a shopper
Open the actual product page on a phone and a larger screen. Check:
Can you identify the item from the first image?
Does the gallery show the relevant sides and construction?
Are size and texture understandable?
Does the selected option match the displayed imagery?
Are mockups distinguishable from photographs?
Can you inspect details without obvious blur or compression damage?
Do descriptions explain useful visual information?
Does the gallery remain usable while the page loads?
Ask an unfamiliar viewer what they still cannot tell. Their questions can reveal a missing photograph.
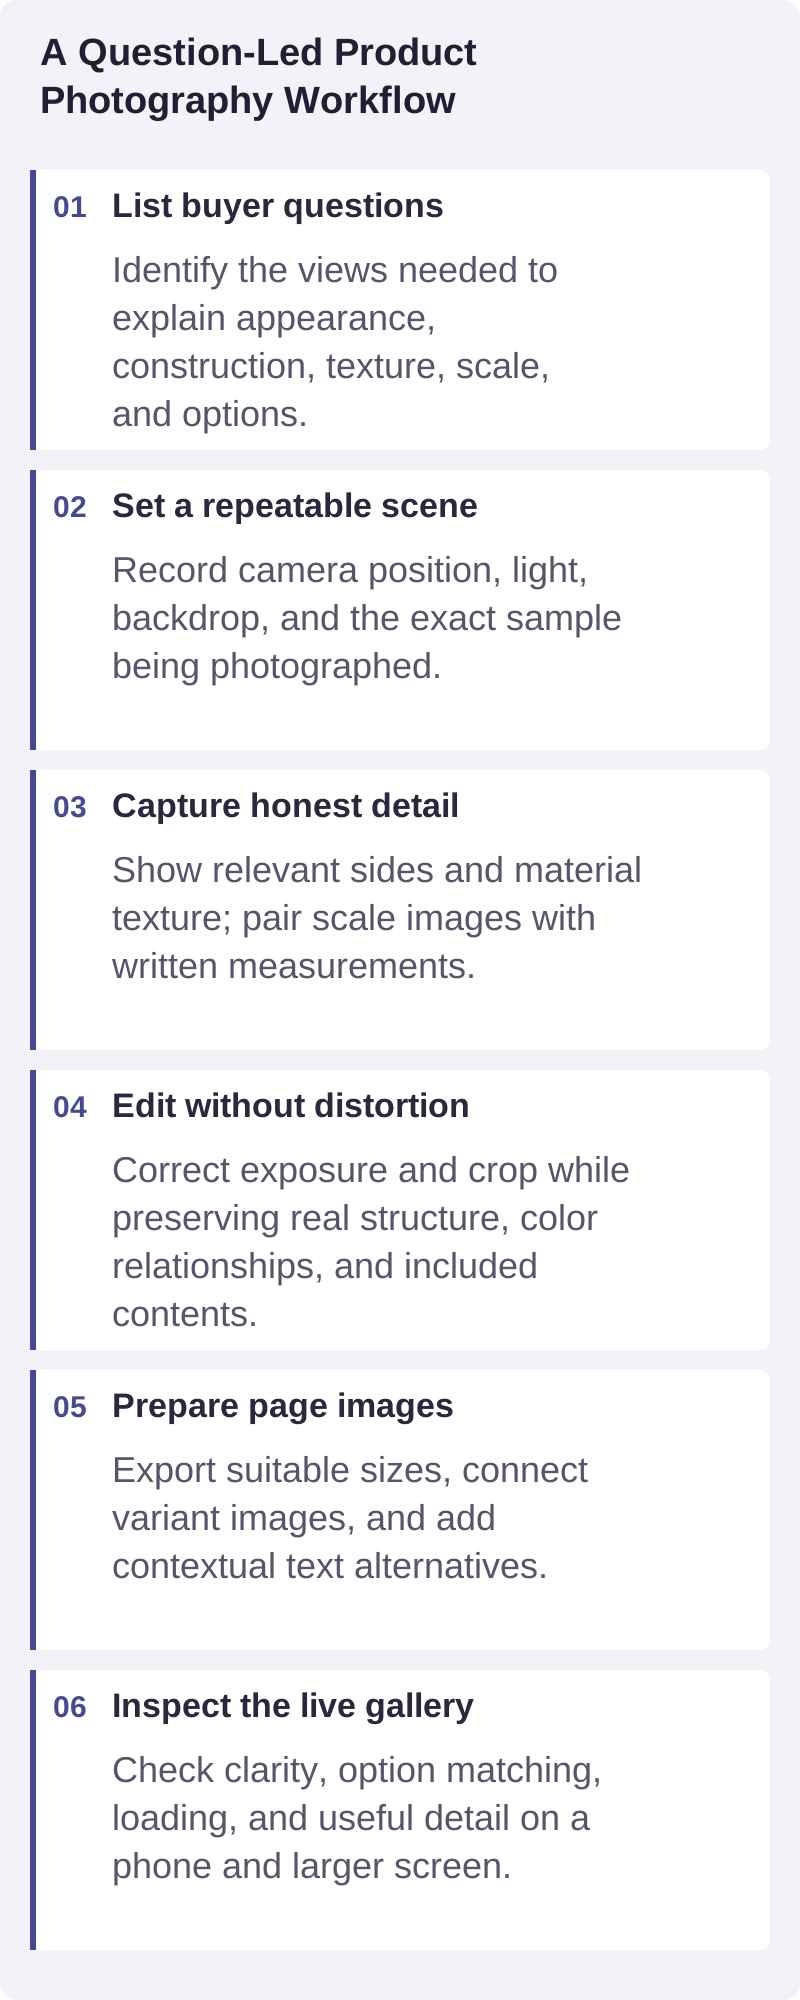
A practical visual summary of the decisions discussed in this guide.
Frequently asked questions
Is a phone camera enough for product photography?
It can be sufficient when it produces clear, accurate images for the intended page. Lighting, stability, preparation, and careful review matter. Test the most difficult detail before deciding whether different equipment or professional photography is needed.
Should every product use a white background?
No. A clean, consistent background is useful for comparison, but the right choice depends on the product and destination. Check any marketplace’s current image requirements separately. Lifestyle views can supplement the main image when they add relevant context.
Can mockups replace all product photographs?
Mockups can communicate a proposed design, but they cannot verify a physical product’s appearance or construction. Identify them clearly and add real sample photography when available, especially when texture, fit, placement, or finish affects the decision.
Prepare your next product shoot
Start with one product and a question-led shot list before scaling to a full catalog. Contact Brilliantor to discuss your product presentation project, the assets you already have, and what needs to be clarified for the final images.