
Brilliantor · October 18, 2026 · 4 min read
All-Over-Print Patterns: Plan Around Seams
Check all-over-print repeats at tile edges, garment panels and seams. Use a practical review sheet for motif scale, safe areas and sample approval.
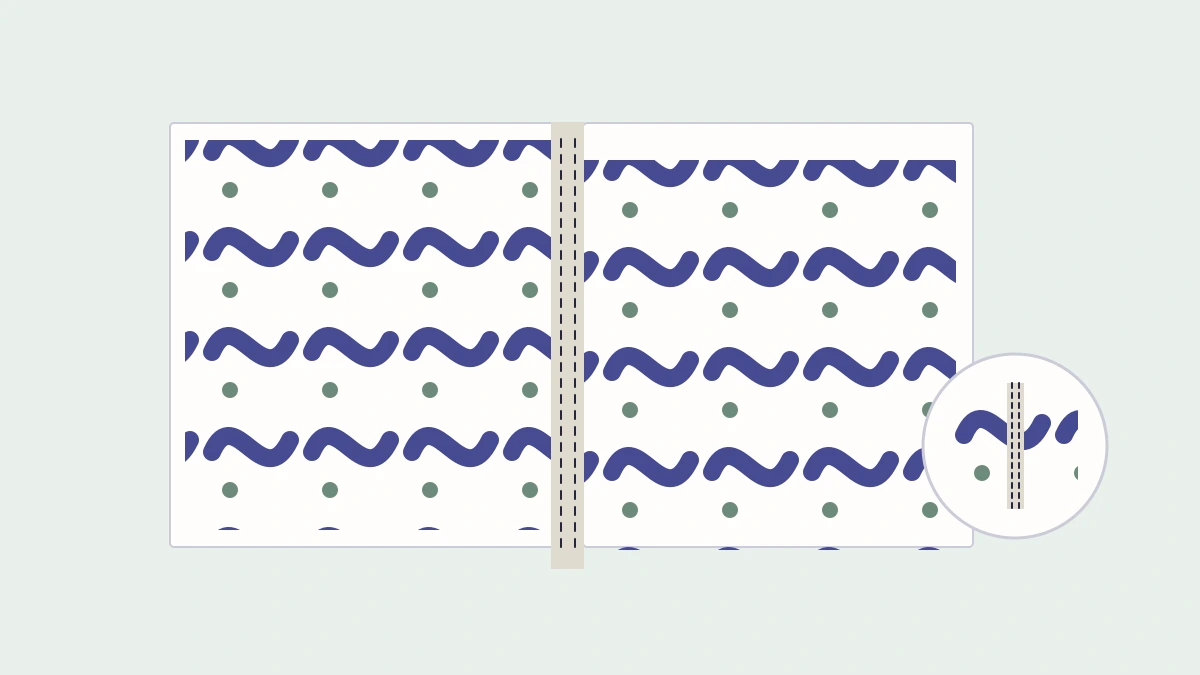
A pattern can join perfectly on a digital canvas and still break at a sleeve seam. Check all-over-print artwork twice: first as a repeating tile, then on the separate panels of the selected product.
Use this process to prepare a practical brief. Exact panel shapes, safe areas and placement tolerances must come from the current template for the selected product and size.
Separate the repeat from the product template
First review the pattern as a tiled surface. Check every boundary for a visible jump, clipped shape or accidental line. Adobe’s Illustrator pattern documentation explains how to create and edit repeat patterns in that application.
Then place the repeat into the actual production template. A good repeat does not tell you where the sleeve joins the body or where a motif falls on a pocket. Keep those construction questions separate from the software’s pattern preview.
If the template is missing or its version is unclear, resolve that before exporting. A generic rectangle is insufficient evidence for a cut-and-sew layout.
Classify motifs by how much alignment matters
Some artwork tolerates interruption more easily than other artwork. A scattered abstract texture may remain understandable when a seam cuts through it. A face, word, central badge or strong horizontal stripe may make a small shift much more noticeable.
For each motif, decide whether it can be cropped, rotated or separated. Mark essential elements for placement review. Do not rely on a continuous word crossing a seam unless the actual production process supports that result and it has been checked.
| Motif type | What to inspect |
|---|---|
| Scattered small shapes | Unwanted clusters and large empty patches |
| Directional leaves or icons | Orientation on each separate panel |
| Large hero motif | Cropping and position across available sizes |
| Stripes or grids | Visible interruptions where panels meet |
| Text or faces | Whether the important content stays whole and readable |
Compare scale on more than one size
A pattern that feels balanced on one preview can feel crowded or sparse on another. Inspect how the layout is adapted across sizes rather than assuming the screen preview describes every variant.
Choose a scale for the intended viewing distance. A small repeat may read as texture from a few feet away; a large repeat may make individual motifs dominant. Neither is inherently better. Match the effect to the design brief.
For a hypothetical leafy shirt, compare a compact scattered repeat with a larger directional repeat. Inspect the front, back and sleeves separately before choosing. A single front-facing mockup hides important decisions.
Keep critical artwork away from uncertain boundaries
Use the template’s own bleed and safe-area instructions. Extend backgrounds as required, while keeping essential content within the specified safe region. Do not invent one universal margin for every product.
The bleed, trim and safe-area guide explains the planning distinction, but a garment template may add panel and seam considerations beyond a flat-print example.
Use a repeat-to-product review sheet
Save a view of the tile repeated several times in both directions. Look for an accidental stripe, a visible boundary or a cluster that becomes obvious only after repetition. Fix those in the repeat master before placing it on panels.
Next, make one review row for each visible construction area: front, back, sleeves, pocket or other relevant panel. Record motif direction, important cropped elements and any alignment that matters to the design. Review the actual size range offered, not a size you do not sell.
For a scattered leaf print, a cut leaf at a seam may be acceptable. For a phrase split between front and back, a similar shift may change the message. Write the acceptance rule in plain language: “Scattered leaves may be cropped; the central badge must remain wholly inside the approved front area.” Ask production whether that requirement can be met before presenting it as a customer promise.
Approve the product, not just the tile
Ask what the mockup represents and which alignment limits remain. Where construction or motif placement is important, inspect an appropriate physical sample before making a promise to customers.
Photograph the relevant seams, panel joins, hems and visible pattern scale. Record what is acceptable and what requires a revision. Do not advertise perfect seam alignment based only on a digital composition.
Save the repeat master, template version, selected scale, export and approval record together. For file-format decisions before resizing or exporting, see vector versus raster artwork.