
Brilliantor · October 18, 2026 · 4 min read
Apparel Size Guides: Explain Fit and Measurements
Build a useful apparel size guide with clear body-versus-garment measurements, verified measuring points and a readable mobile size table.
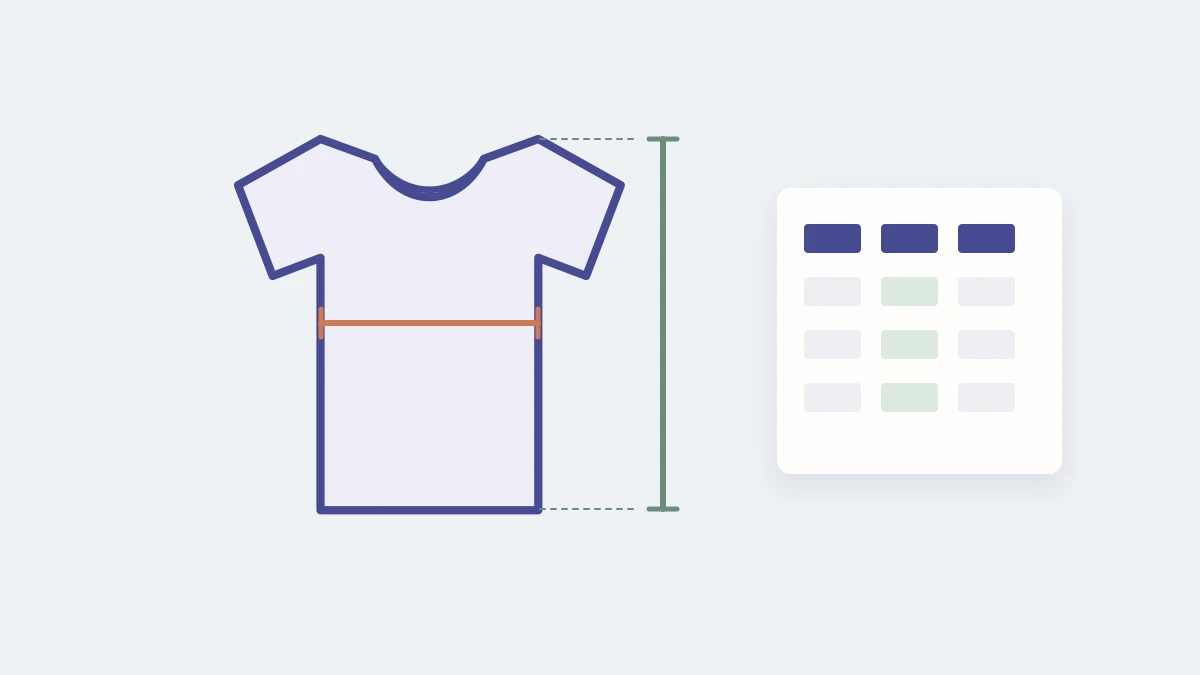
A “chest” column is ambiguous if buyers cannot tell whether it describes a body circumference or a shirt measured flat. A useful apparel size guide names the measurement, explains the method and belongs to the exact garment being sold.
Use this guide to improve the explanation around verified measurements. It does not supply a universal size chart: measurements and fit information must match the exact garment and its current specification.
Label body and garment measurements clearly
Body measurements describe the wearer. Garment measurements describe the item. They serve different purposes and should not share an unexplained column label.
For a flat garment chart, explain whether width is measured across the front and where length begins. Do not assume that doubling a flat width turns it into an appropriate body-size recommendation. Fit, construction and the measurement method still matter.
If the source provides a body chart, preserve that meaning. Avoid converting it into a garment chart without the actual garment measurements.
Use the measuring method that belongs to the product
Ask for the official measurement points and units. A length taken from the highest shoulder point can differ from a length taken from another reference. A diagram should show the method used by the chart, not a generic line placed on a shirt illustration.
For buyers comparing a garment they own, explain how to lay it flat and identify the relevant points, where that matches the supplied method. Keep tapes straight without stretching the fabric. Present these as practical comparison instructions, not a promise of identical fit.
The cover is a schematic explanation of width and length, not the official measuring method or size specification for a catalog item. Use the product’s own chart for the actual measurement points.
Build a small, readable table
Keep the first table focused on the measurements that support the buying decision. State the unit in the column heading or beside the table, and explain any stated tolerance using the verified specification.
| Chart element | What the buyer should understand |
|---|---|
| Product identity | The exact garment or model the chart applies to |
| Measurement type | Body or finished-garment measurements |
| Units | Centimeters, inches or clearly separated views of both |
| Measuring points | Where each measurement starts and ends |
| Fit context | Verified cut information and any relevant limitation |
| Tolerance | Only the tolerance actually supplied for this item |
Use a real HTML table with meaningful headers. W3C’s table tutorial explains how headers make relationships understandable for assistive technology. A screenshot of a chart is harder to read, update and navigate.
Connect the chart to the selected variant
Place the guide near the size selector and verify that it belongs to the current product. Do not reuse a familiar chart simply because two garments have similar names.
If a listing combines different cuts or models, explain which chart applies to each. If units can be switched, check every converted value and avoid rounding that creates misleading precision.
On mobile, ensure buyers can read all headings and values without losing the relationship between them. A horizontally scrollable table needs a clear visual cue and usable labels; compressed tiny text is not a good substitute.
Answer the three questions buyers usually have next
“Can I compare a shirt I already own?” Yes, when the chart gives finished-garment measurements and you can follow the same measuring method. Compare a garment with a fit you like. If the chart gives body measurements instead, use the body method it specifies.
“Is flat width the same as chest circumference?” No. Flat width is one distance across the garment. Doubling it can describe an approximate garment circumference in some constructions, but it does not establish the wearer’s ideal body size or fit allowance.
“What should I do between sizes?” First confirm the chart type and method, then compare the relevant measurements and the verified cut. Consider the fit you want. If a specific point remains unclear, ask about that point rather than relying on a universal “size up” rule.
Keep these answers beside the chart when they apply. They explain how to use the numbers without supplying invented dimensions, tolerances or shrinkage estimates.
Explain fit without pretending certainty
Describe confirmed construction and material facts, then explain what remains a personal preference. “Relaxed fit” should reflect a verified product description, not an assumption made from a loose-looking mockup.
Avoid an automatic “size up” rule for every garment. Give buyers a way to compare relevant measurements and ask about uncertain points. The T-shirt fabric guide provides context for material choices without replacing the size specification.
Check the guide when the product changes
Review the chart after a model, source specification or size range changes. Keep the measurement source and review date in your working records. If you photograph or measure a sample, identify the sample size and method rather than presenting one item as proof of the entire range.
Link to verified care instructions where relevant, without inventing shrinkage percentages. The finished guide should help buyers make a better comparison while keeping the limits of that comparison clear.